
How to Fit a Ceiling Light Easily: A Step-by-Step Guide
Fitting a ceiling light might sound like a complicated task, but in many cases, it’s a straightforward DIY job — especially if you’re simply replacing an existing ceiling light fixture. Whether you’re upgrading to a modern design, improving your room’s lighting, or installing a more energy-efficient option, learning how to fit a ceiling light can save time and money.
From choosing the right fitting to safely connecting the wiring, this step-by-step guide will walk you through the process and help you install your new ceiling light with confidence.

Why Upgrade or Replace a Ceiling Light?
It’s not hard to find high-quality ceiling lights — in fact, the challenge is often choosing the right one. From modern minimalist designs to classic decorative fixtures, the right ceiling light can completely transform a room.
Upgrading your ceiling lighting can help you:
-
Improve brightness and functionality for everyday tasks
-
Create a softer, more ambient atmosphere
-
Refresh your interior style
-
Reduce energy usage with LED-compatible fittings
Before installation, it’s important to think about your space. Consider ceiling height, room size, and whether you need task lighting (for kitchens or offices) or ambient lighting (for bedrooms or living areas).

Tools & Equipment You’ll Need
Before you begin, make sure you have the right tools to hand:
Essential tools:
-
Screwdriver (flathead or Phillips)
-
Voltage tester
-
Wire cutters/strippers
-
Electrical tape
-
Step ladder
Optional but helpful:
-
Drill (if new fixings are required)
-
A second person (for heavier light fittings)
Having everything ready before you start will make the process smoother and safer.

Safety First: What You Must Do Before Starting
Safety is the most important part of fitting a ceiling light.
-
Turn off the power at the mains before touching any wiring
-
Use a voltage tester to confirm there is no electrical current
-
Never attempt to work on live wires
If you’re installing a ceiling light in a completely new location (with no existing wiring or ceiling box), you’ll need to contact a qualified electrician. The same applies if you’re unsure about the wiring or dealing with a more complex setup.
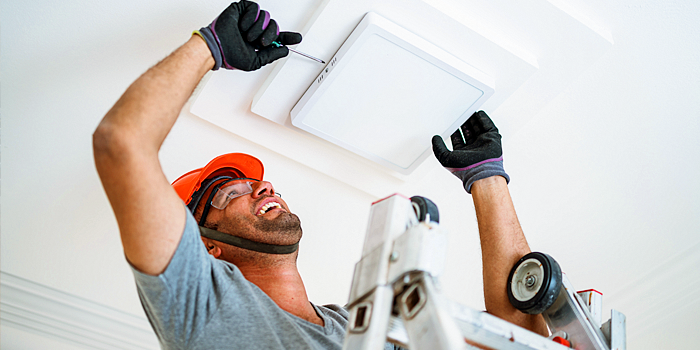
Step-by-Step Guide to Fitting a Ceiling Light
Step 1: Remove the Existing Ceiling Light
If you’re replacing a light, start by removing the old fixture.
-
Ensure the power is switched off
-
Unscrew or unclip the existing light fitting
-
Carefully lower it to expose the wiring
-
Disconnect the wires by loosening the terminal screws or connectors
Take note of how the wires are connected — this will help when installing the new light.
Step 2: Check the Wiring & Ceiling Fixings
Before installing your new ceiling light, inspect the setup:
-
Identify the wires (live, neutral, and earth)
-
Check that the ceiling rose or junction box is secure
-
Ensure the existing mounting bracket can support the weight of the new fitting
This is an important step — heavier fixtures such as chandeliers or large pendant lights may require additional support.
Step 3: Install the Mounting Bracket
Most ceiling lights come with a mounting bracket.
-
If your new light is compatible with the existing bracket, you can reuse it
-
If not, install the new bracket securely to the ceiling
-
Ensure it is firmly fixed to a joist or suitable support
A secure base is essential for both safety and stability.
Step 4: Connect the Wires
Now it’s time to connect your new light.
-
Match the wires:
-
Live to live (typically brown or red)
-
Neutral to neutral (blue or black)
-
Earth to earth (green/yellow)
-
-
Secure connections using terminal blocks or connectors
-
Ensure all wires are firmly connected and safely enclosed
If you’re ever unsure at this stage, it’s best to stop and seek professional help.
Step 5: Attach the New Ceiling Light
Once the wiring is complete:
-
Carefully lift the light fitting into position
-
Secure it using screws or bolts provided
-
Make sure it sits flush and stable against the ceiling
For larger or heavier fixtures, having a second person to help can make this step much easier.
Step 6: Restore Power & Test
Finally:
-
Turn the power back on at the mains
-
Switch on the light to test
If the light doesn’t work:
-
Check the bulb is installed correctly
-
Ensure the fuse hasn’t tripped
-
Recheck your wiring connections
In most cases, the light should work immediately once installed correctly.
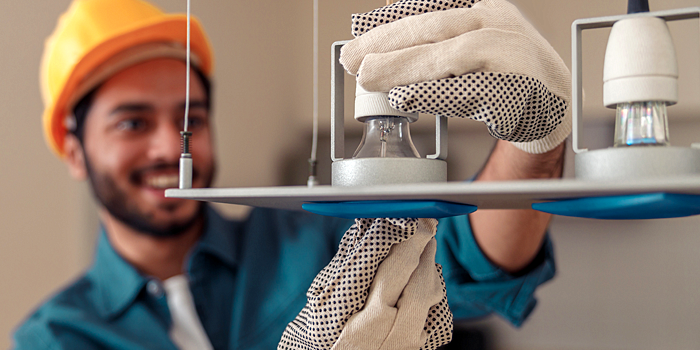
Common Ceiling Light Installation Mistakes to Avoid
Avoid these common issues to ensure a smooth installation:
-
Forgetting to turn off the power
-
Loose or poorly secured wiring
-
Installing a fixture that’s too heavy for the ceiling
-
Using the wrong bulb type
-
Skipping safety checks
Taking your time and following each step carefully will help prevent problems.

Different Types of Ceiling Lights & Installation Considerations
Not all ceiling lights are installed in exactly the same way. Here’s what to consider:
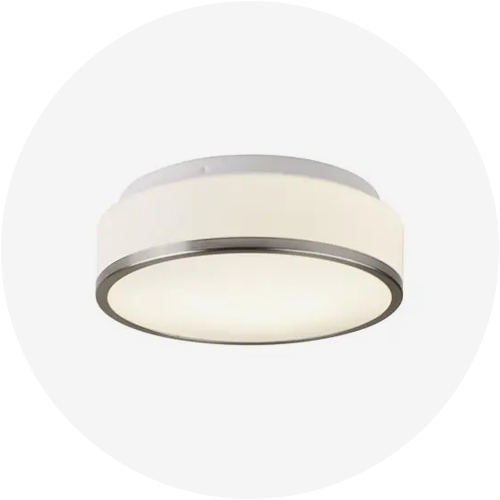
Flush Ceiling Lights
-
Sit close to the ceiling
-
Ideal for low ceilings
-
Typically quick and easy to install
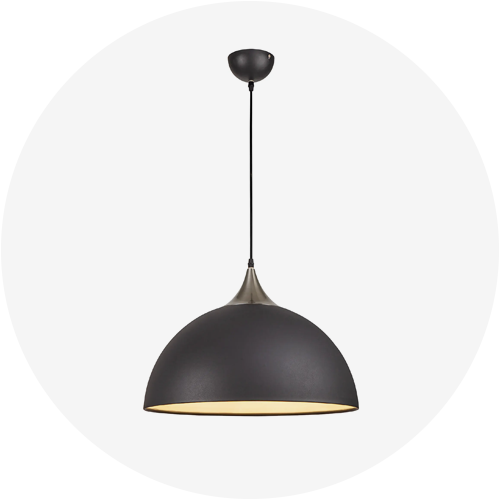
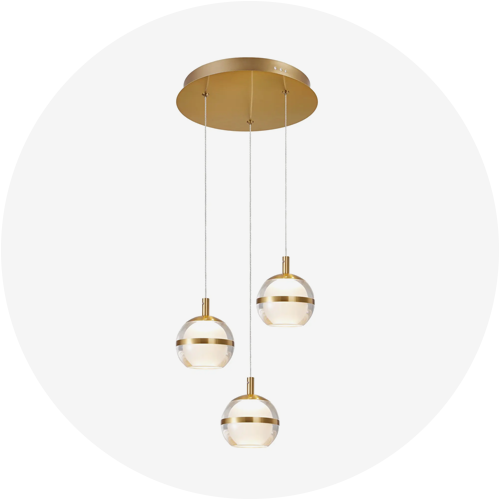
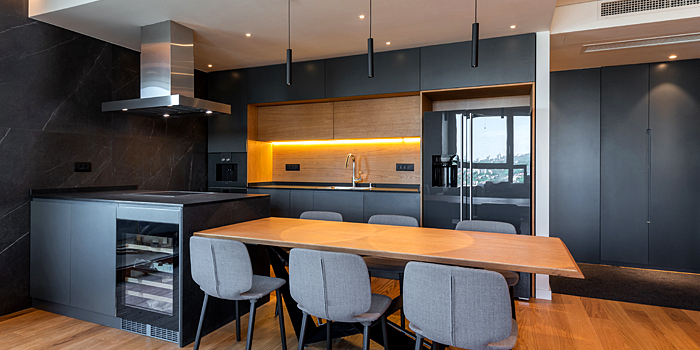
Pendant Lights
-
Hang down from the ceiling
-
Require correct height adjustment
-
Important to position carefully over tables or islands
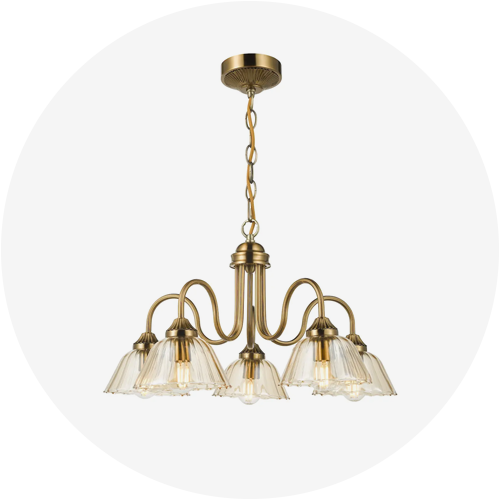
Chandeliers &
Heavy Fixtures
-
Heavier and more complex
-
Require strong ceiling support
-
Often best installed by a professional
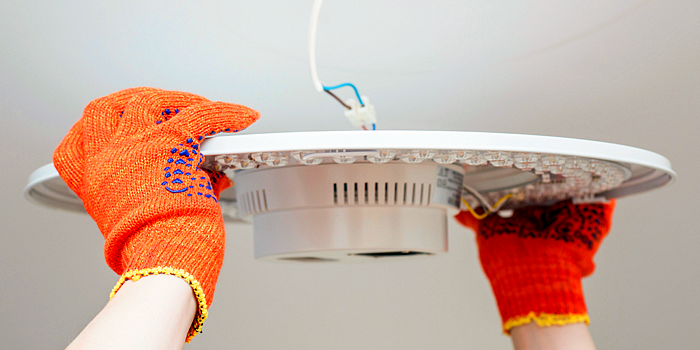
LED Ceiling Lights
-
Energy-efficient and long-lasting
-
Some have integrated LED units
-
May require specific fittings or drivers
When Should You Call a Professional Electrician?
While replacing a ceiling light is often a simple DIY task, there are situations where professional help is essential:
-
Installing a light in a new location
-
Complex or unclear wiring
-
Heavy or multi-light fittings
-
Older properties with outdated wiring
-
Any uncertainty about safety
If in doubt, always prioritise safety and consult a qualified electrician.

Tips for Choosing the Right Ceiling Light Before Installation
Before fitting your new ceiling light, make sure it’s the right choice for your space:
-
Ceiling height: Flush lights for low ceilings, pendants for higher spaces
-
Room type: Bright task lighting for kitchens, softer lighting for bedrooms
-
Size & proportion: Ensure the light suits the scale of the room
-
Style: Match your interior décor (modern, traditional, industrial)
-
Energy efficiency: Opt for LED-compatible fittings where possible
Choosing the right light will make a big difference to both functionality and overall design.
Shop Ceiling Lights at Abbeygate Lighting
Installing a ceiling light is often easier than expected, especially when replacing an existing fitting. By following the correct steps and prioritising safety, you can confidently upgrade your lighting and transform your space. However, always recognise your limits — if a job feels too complex, calling a professional is the safest option.
At Abbeygate Lighting, we offer a wide range of high-quality ceiling lights to suit every room and style. From practical flush ceiling lights to statement pendant lights and decorative chandeliers, you’ll find the perfect ceiling light for your home.
Browse online or visit our showrooms in Norwich, Bury St. Edmunds, or Felixstowe for expert advice and inspiration. Our team is always happy to help you choose the right lighting for your space.

FAQs: Fitting a Ceiling Light
How easy is it to fit a ceiling light?
Fitting a ceiling light is usually straightforward if you’re replacing an existing fixture. As long as you follow safety steps and connect the wiring correctly, it can be a simple DIY task.
Can I replace a ceiling light myself?
Yes, many homeowners can replace a ceiling light themselves. However, if you’re unsure about replacing a ceiling light fitting yourself, wiring or installing a new fitting location, it’s best to hire a qualified electrician.
Do I need an electrician to install a ceiling light?
You’ll need an electrician if you’re installing a light where no wiring exists, dealing with complex circuits, or fitting a heavy fixture that requires additional support.
What tools do I need to fit a ceiling light?
Basic tools include a screwdriver, voltage tester, wire cutters, and a step ladder. Additional tools may be needed depending on the fixture.
Why isn’t my new ceiling light working?
Check that the bulb is fitted correctly, the power is on, and the wiring connections are secure. If the issue persists, consult an electrician.
Can I install a heavier ceiling light safely?
Heavier lights require strong ceiling support. If you’re unsure whether your ceiling can handle the weight, seek professional advice before installation.
How do I clean ceiling lights?
Switch off the power before cleaning. Use a soft cloth for glass or metal fittings, and gently dust fabric shades. Regular cleaning helps maintain brightness and appearance.